Ceiling array microphones incorporate multiple wide-range microphone lobes mounted together into a single unit array to provide rich sound, impeccable spacial positing and maintaining full 360° coverage. By deploying multiple highly-directive microphone capsules and powerful DSP, these microphones provide clear audio pickup, especially in installed environments.
Ceiling array microphones have introduced many unique benefits to AV conferencing and presentation rooms of all sizes and configurations. They eliminate several issues caused by common meeting behaviour such as moving, speech intonation, changing on & off-axis pickup and much more.
With these microphones, users don’t have to worry about altering natural body language or practising proper microphone techniques, usually not known to many end users. These microphones have the ability to aim microphone array lobes at specific areas in the room. This provides coverage for both seated participants and constantly moving presenters. Apart from clearing up space on the table, ceiling array microphones deliver consistent clarity for each person in a meeting space.
To harness the real benefits of Ceiling Array Microphones, it is crucial that the technology is properly configured in the room. There are numerous considerations that should be accounted for when designing, integrating, and installing ceiling microphone array systems. Here are key best practices to ensure users enjoy the full benefits of a properly configured ceiling array microphones.
Ceiling Array Microphones Installation Tips
Take Your Time to understand the product
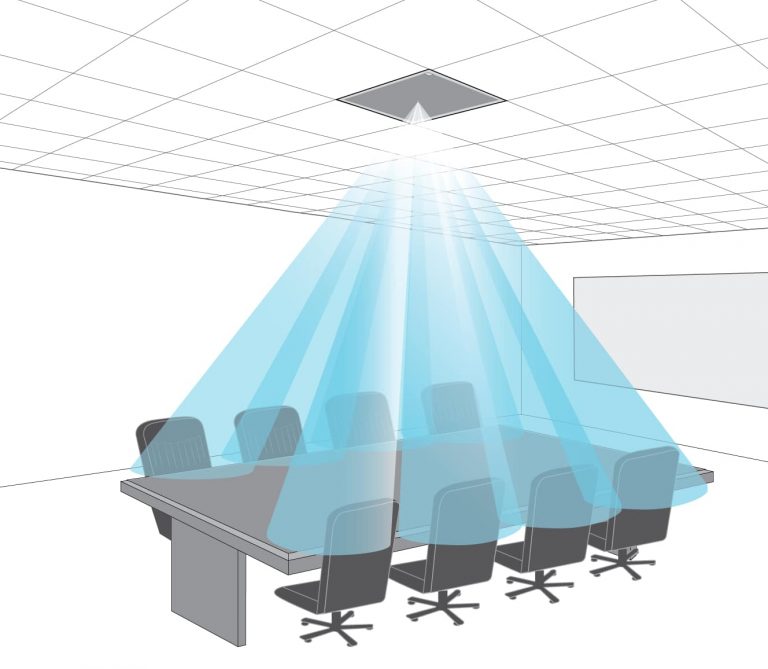
You really need to spend time and effort in understanding the product in the commissioning stage. Gauge the space and what it will be used to design the most suitable setup. Most manufacturers have a system configuration software application that lets users create configurations without the microphone even being connected. These applications make it easier to visualize and implement installations. You can accurately predict the number of microphones necessary to cover a given meeting space. It also helps in precise arrangement of the lobes to ensure maximum coverage, superior clarity and intelligibility.
Listen carefully for drops
While the software application exists, it is still important to listen to the sound in the room and adjust the microphone as needed. All spaces are different, so adapting the system might be necessary. Don’t rely on the software, the lobes of ceiling array microphones need to be adjusted to match the talker’s position.
Keep an eye on the NOM limit
NOM stands for Number of Open Microphones. Most auto-mixers allow you to limit the NOM setting. In some applications, reducing this number to just one or two mics reproduces intelligible sound. A higher number of open microphones doesn’t always mean loud and clear audio pickup. In fact, it can create issues in terms of overall gain before feedback and intelligibility in audio. As the number of speakers and NOMs increase, it is crucial to keep an eye on the limit and make adjustments as required.
Keeping ambient noise at a check
Ambient noise can significantly degrade speech intelligibility in a room. You can use equalization to reduce low-frequency noise. A higher number of active lobes at once results in a buildup of low-frequencies. The important thing is to make sure that the NOMs you have got open is reflected in how much low end you’re cutting out. However, be sure to listen to the output to find a right balance between cutting out low-end muffle and losing the body of the voice.
DSP and Gain After Gate are your friends

When configuring a ceiling array microphone, it is advised to use an external digital signal processing (DSP) unit to apply acoustic echo cancellation (AEC) and noise reduction. By having an AEC processing, each area of the room will be consistently monitored for sound quality. It’s also recommended to have the AEC processing happen before any other alterations such as EQ or compression are applied. You can use Automatic Gain Control (AGC) or speech levelling to have controls over the volume, dynamics and even the noise floor.
Keep the volume levels low
Most soft codecs or applications such as Skype and Hangouts have a threshold at which low volume levels are considered noise. It is crucial to make sure you’re transmitting a healthy proportion of the desired signal and unwanted sounds. Adjust the transmit level to the lowest possible value while listening from the far end before noise or distortion is introduced.
That might sound like a lot to keep in mind when it comes to deploying ceiling array microphones. However, if you adhere to these key tips and prep your system properly you should be good to go. Many AV integration companies in India such as Actis Technologies have a plethora of experience in integrating these professional-grade sound reinforcement solutions. Finally, we cannot stress how important it is for businesses to realise that ceiling array technology can immensely improve the conferencing and presentation experience in your meeting room.
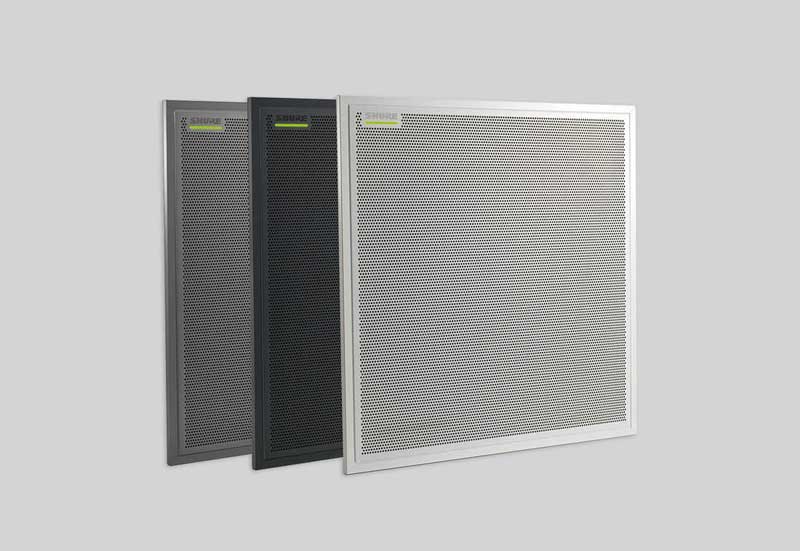
(Image courtesy: www.shure.com)
For more information on integrating boardroom and meeting room solutions in India,
contact Actis at 022-30808080 or at contact@actis.co.in.